Tarmac is a material often used to create motorways and driveways. This is due in no small part to benefits such as thermal flexibility, its waterproofing qualities and its cost-effective nature. It is still a fact that some areas will need to be resurfaced from time to time.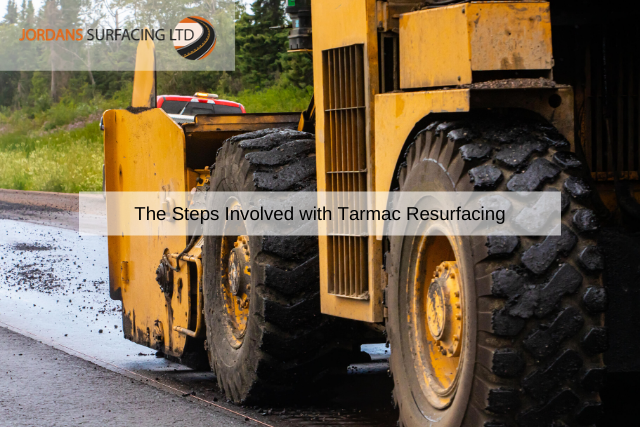
This is particularly the case in terms of high-traffic locations (such as parking lots) or if the surface in question is exposed to harsh elements. What are some crucial steps to account for throughout the resurfacing process? Let us break this subject down into a handful of sections.
1. Preparation
Whether referring to car park resurfacing or dealing with issues around the driveway, it is critical to clean the surface to be repaired. Make absolutely certain that it is free from debris such as dirt and loose gravel. Once the area has been washed, allow it 24 hours to properly dry.
2. Underlying Repairs
You may notice issues such as cracks of potholes once the surface has been cleaned. These need to be filled before the tarmac is subsequently applied. Most home improvement centres offer a type of epoxy that can fill small cracks. You may also require pothole filler (known as cold patch) to deal with any potholes that may be present.
3. Resurfacing
Once all imperfections have been addressed, you can then apply an additional layer of tarmac. Be sure that it is spread evenly across the entire surface and it is best to work from the centre outward. You can choose to use a paint brush to cut around edges or to deal with tight spaces.
As we can see, there are a number of important steps to keep in mind. This is why it is normally best to contact Jordans Surfacing to ensure that any project is completed in a timely fashion.